Rolling Storage Box/ Coffee Table Build
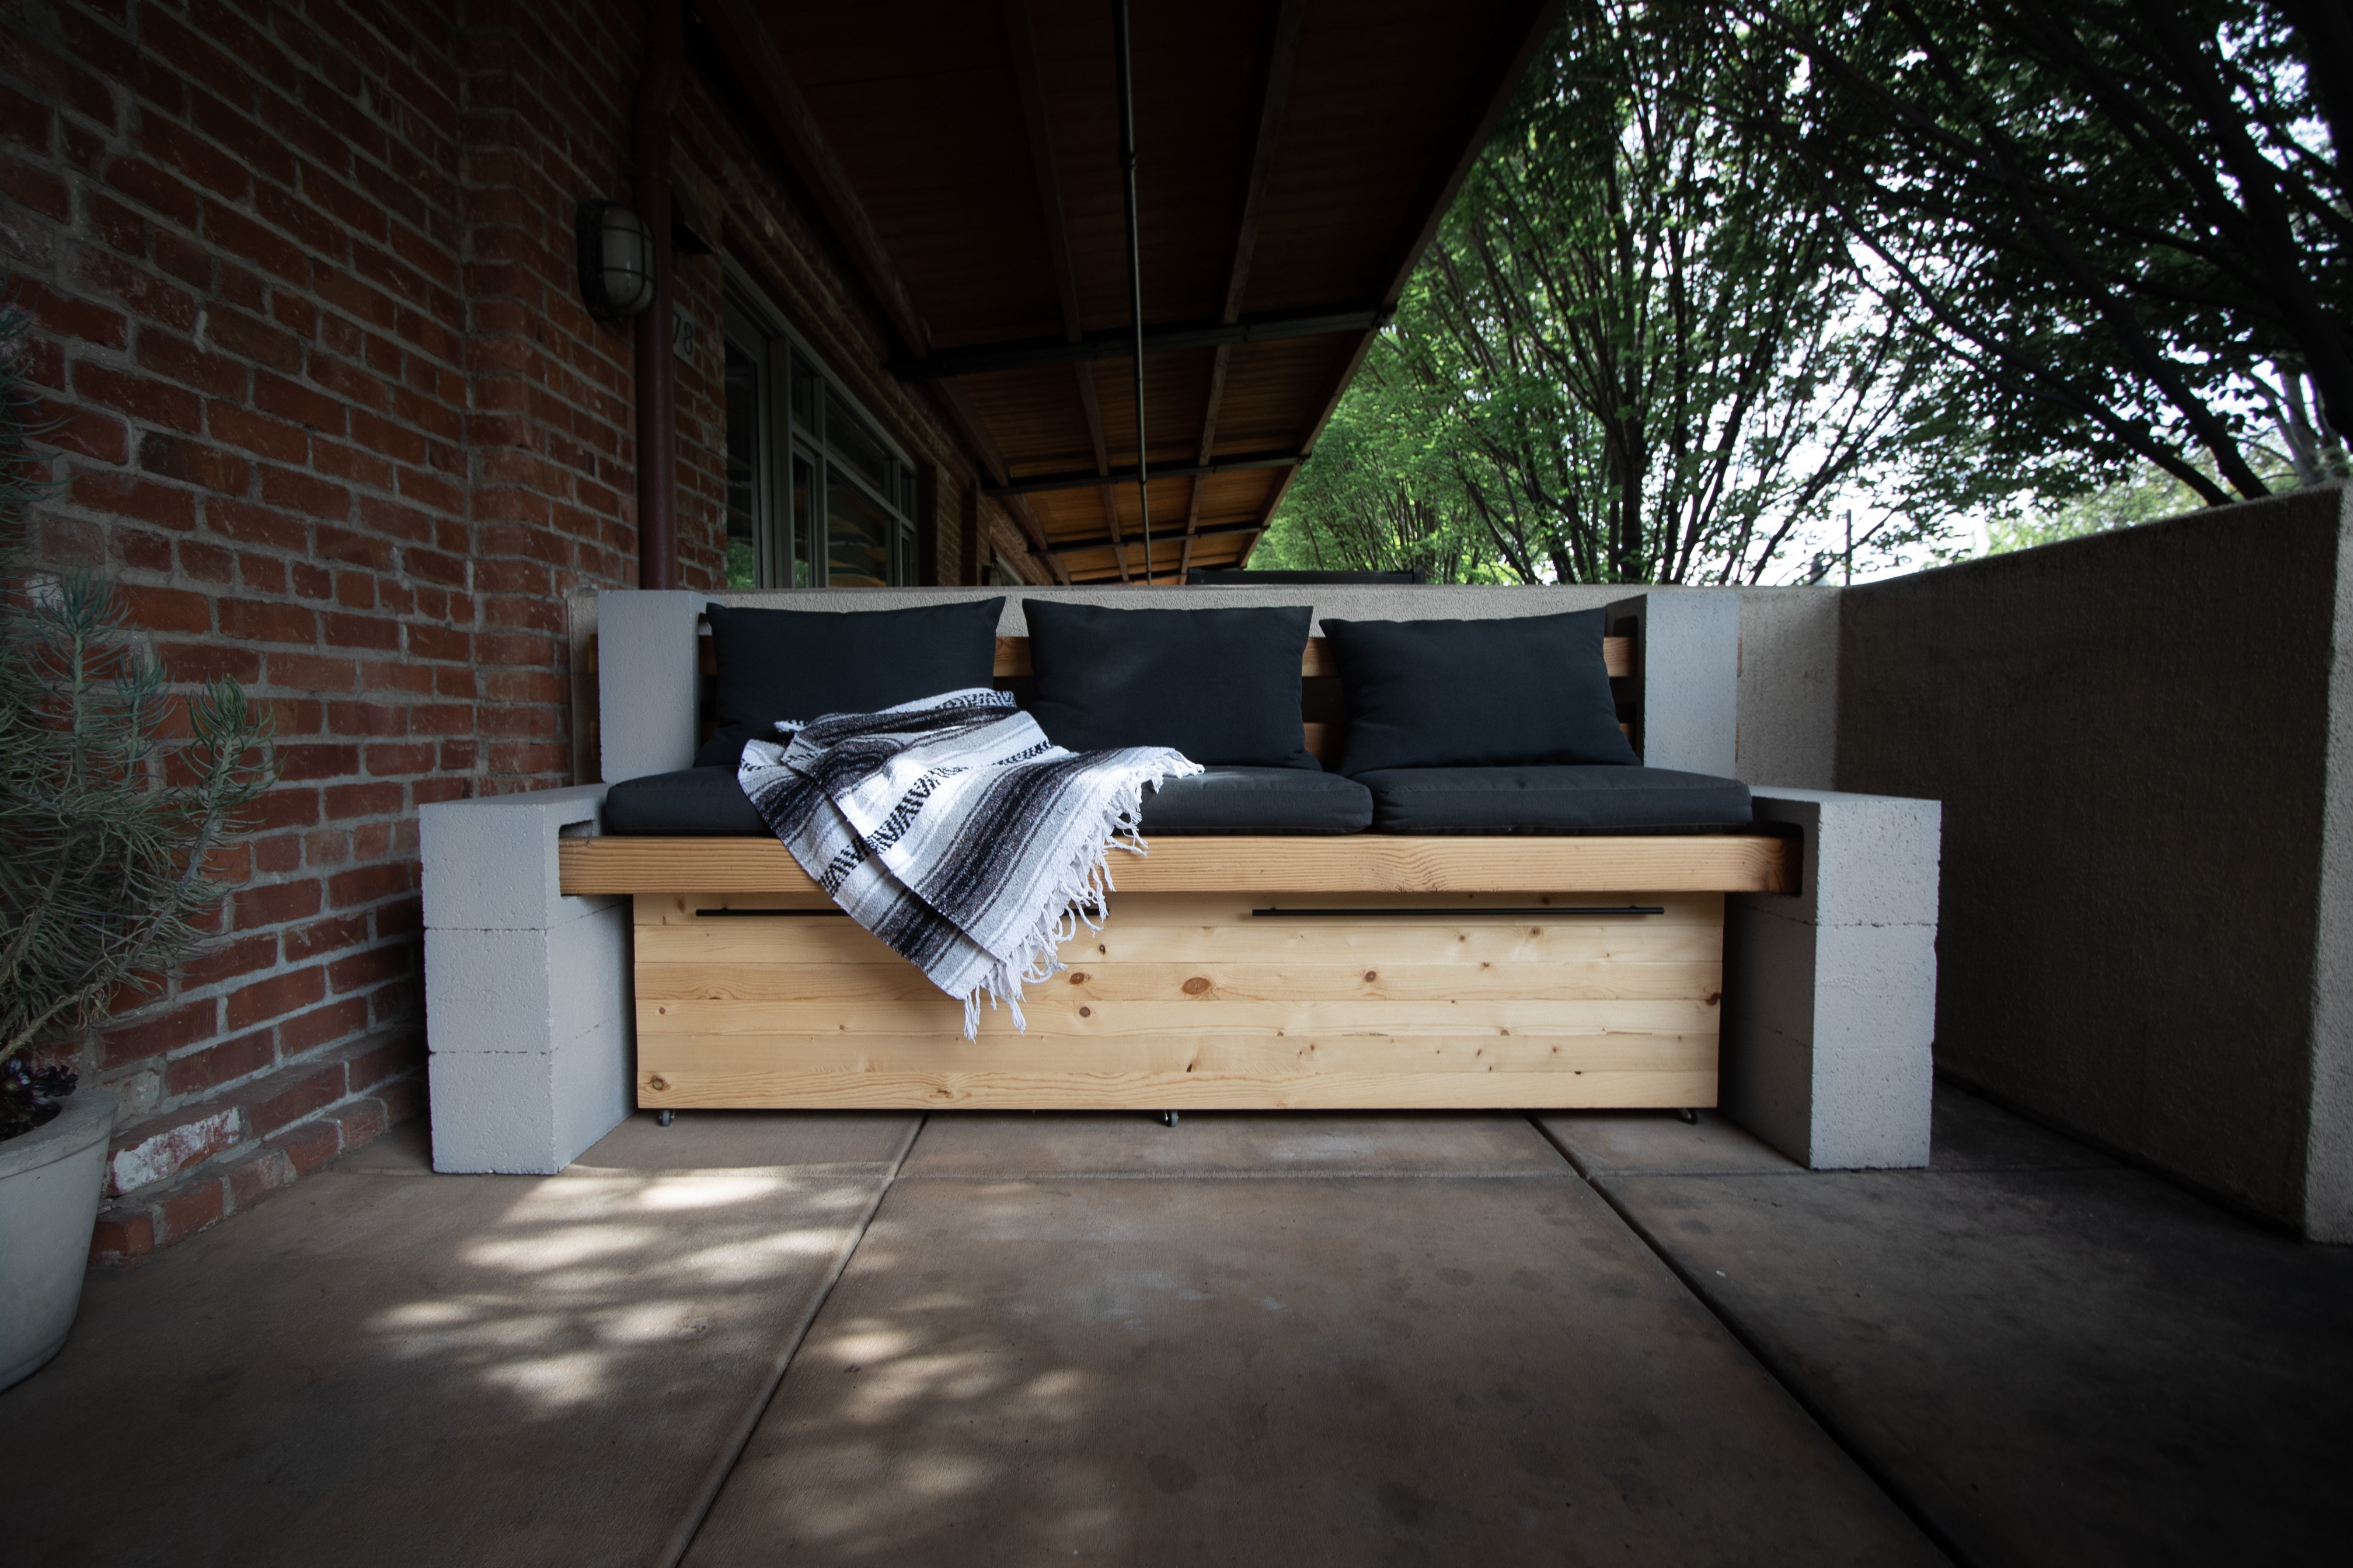
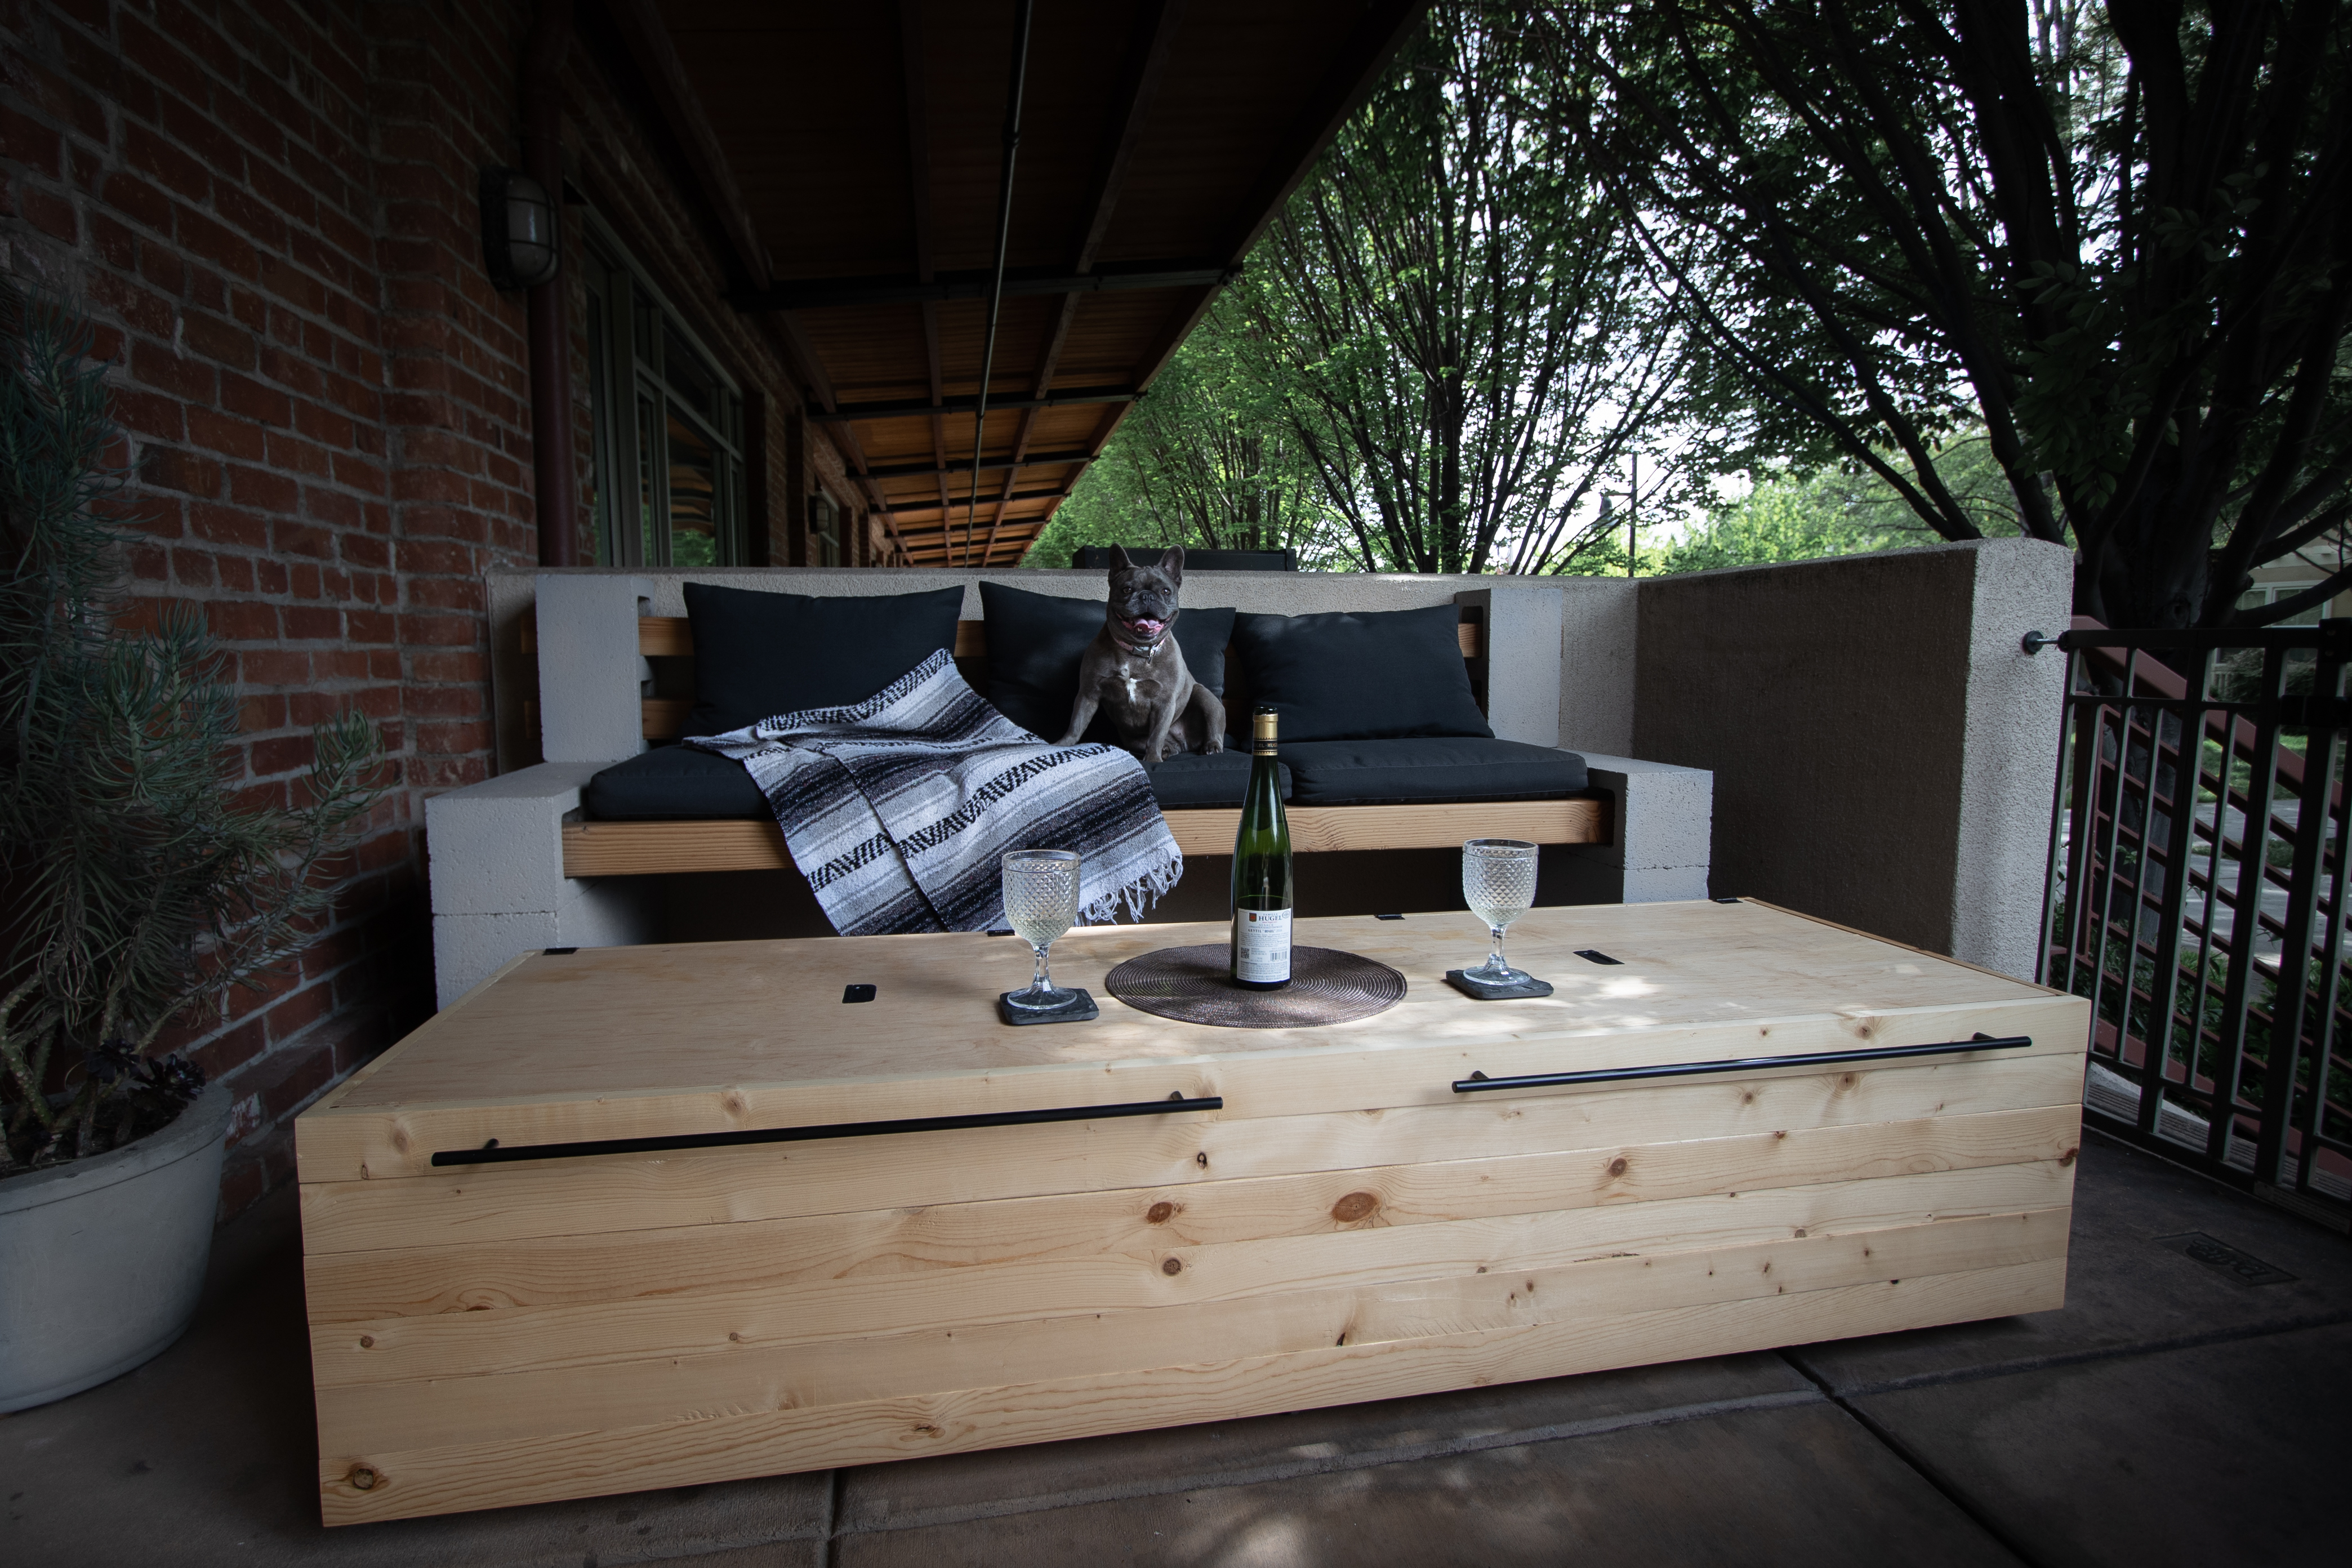
It was finally time to make use of the large space under the cinderblock bench that I previously built. Since living in a loft typically results in a lack of storage, I decided to make a fairly simple wooden storage box on wheels. I wanted something that was functional, but also something that would hide nicely under the bench when it wasn’t in use.
All Materials Used
- 1 sheet of maple plywood (8 feet x 4 feet x 0.5 inches)
- 12 wood SPF furring strips (8 feet x 2.5 inches x 0.75 inches)
- 2 wood SPF furring strips (8 feet x 1.5 inches x 1.5 inches)
- Wood glue
- Wood clamps (small and large)
- A box of screws (I used drywall screws since they are easy to work with)
- Electric drill
- Drill bits
- Circular saw
- Kreg circular saw jig (optional)
- Dremel tool or wood router tool
- Tape measure
- pencil and/or marker
- Masking tape
- Metal L brackets
- 2x 27.5 inch cabinets pulls
- 2x metal flush handles (3 inch)
- 7x roller casters (1.25 inch wheels)
- 4x small hinges (1.5 inch)
- Spar Urethane (for the topcoat)

Final Box Measurements
- Box (without wheels): 74 inches long x 23.5 inches wide x 15 inches tall
- Box (including wheels): 74 inches long x 23.5 inches wide x 16.5 inches tall
Measurements of Individual Pieces (Cut List)
- Lid (plywood): 1 piece- 72.25 inches x 21.75 inches x 0.5 inches
- Base (plywood): 1 piece– 74 inches x 23.5 inches x 0.5 inches
- The longer wood strips for the front and back side panels (SPF furring strips): 12 pieces total– 74 inches x 2.5 inches x 0.75 inches
- The shorter wood strips for the end side panels (SPF furring strips): 12 pieces total– 22 inches x 2.5 inches x 0.75 inches
- The inside frame (SPF furring strips): 2 pieces– 72.25 inches x 1.5 inches x 1.5 inches (these are used for the long ends of the base); 3 pieces– 19 inches x 1.5 inches x 1.5 inches (these are the shorter pieces attached to the base); 6 pieces– 12.5 inches x 1.5 inches x 1.5 inches (these are used for the vertical parts of the inside frame).

Tips and Recommendations
- This box can be made any size you would like. I tried to use a size that would fill the space under the cinder block bench as much as possible, while using as little wood as possible. This was to keep the cost down, as well as the amount of cuts needed.
- The base piece of plywood will be the exact all around width of the box while the lid will be a bit smaller. They are not the same sizes even though it appears that way in the video. Refer to the exact measurements above.
- I used wood glue only for assembling the base pieces. You can use glue for the rest of the box as well to make things even stronger, but I didn’t feel it was necessary.
- There is only one thing I would do differently if I were to do this again. Next time, I would move the flush mount handles more towards the front of the lid and I would angle them parallel to the length of the box. I installed them before I decided to add hinges. The lid was originally designed to simply lift vertically off and on.
- Feel free to customize the accessories and the look of the box. It can be stained or painted a different color entirely if desired. I wanted it to match the cinderblock bench as much as possible.
If you liked this post, feel free to share it!


May 31, 2020 @ 7:12 pm
I’m so scared to do this but I will be building this and the cinder block bench tomorrow. Hope everything turns out great
May 31, 2020 @ 10:01 pm
You got this! The bench is really easy. The box is pretty easy too, but just make sure you get the measurements right for each piece of wood. Enjoy!