DIY Board Form Concrete Planter
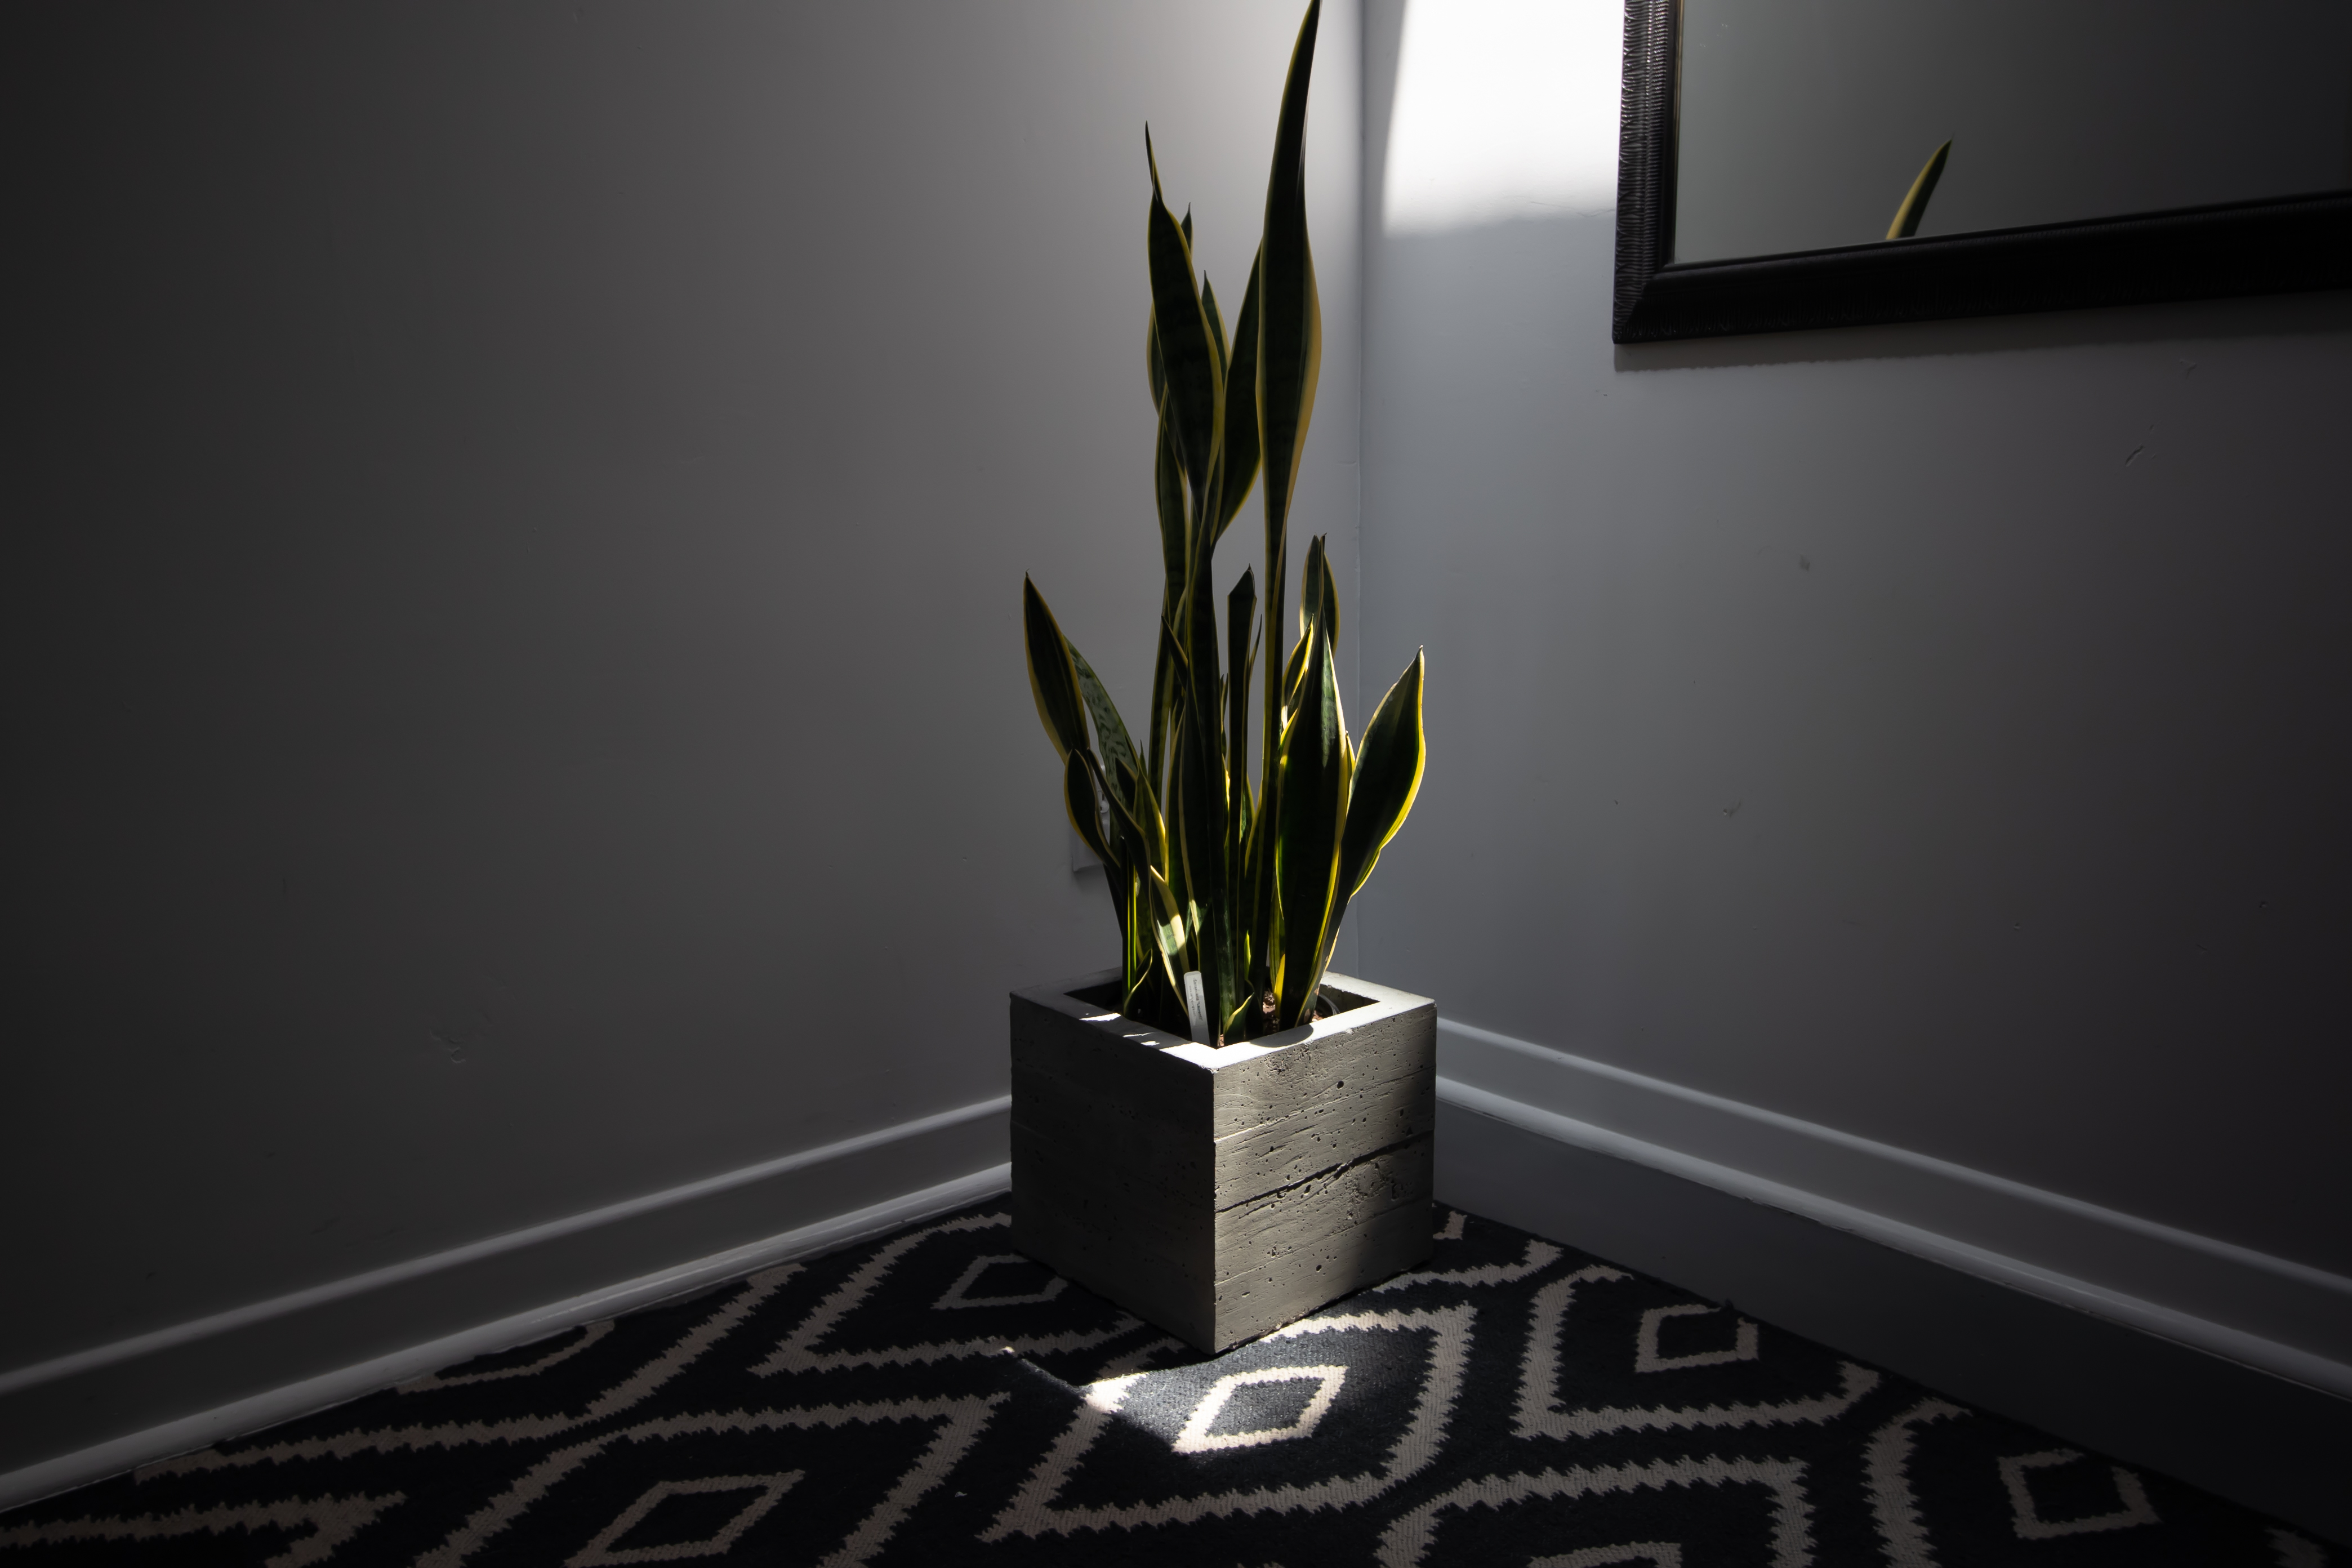
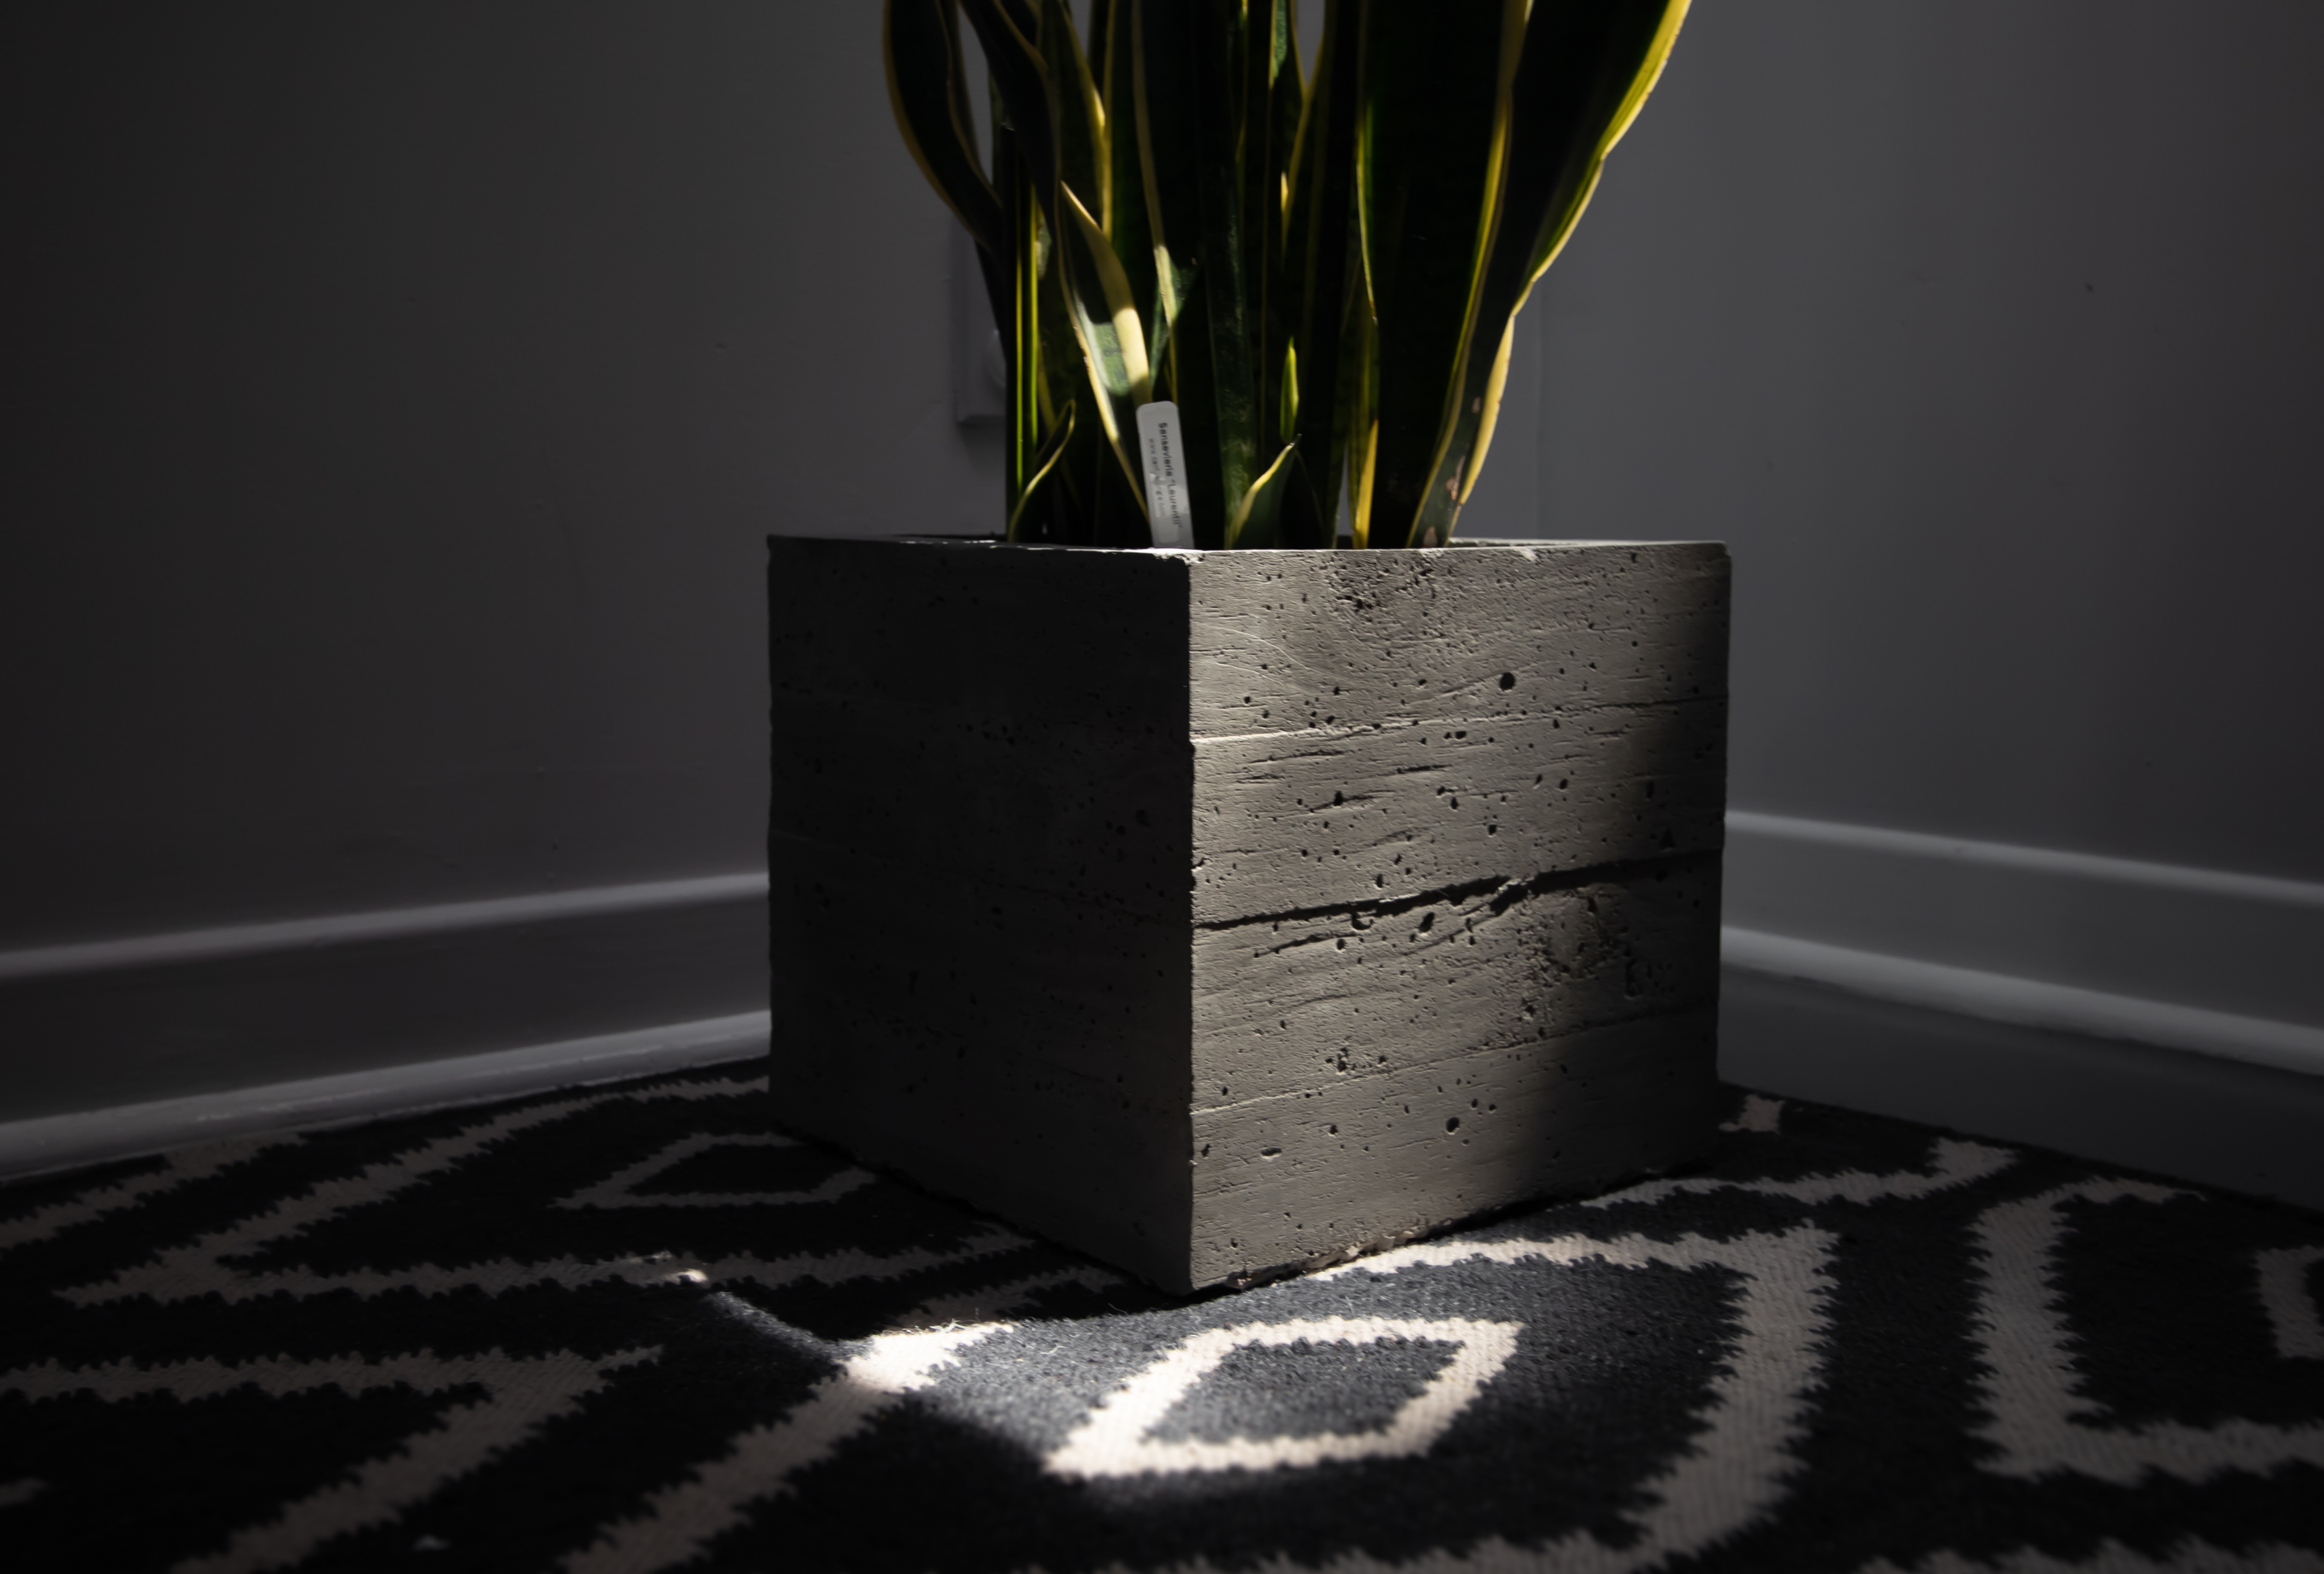
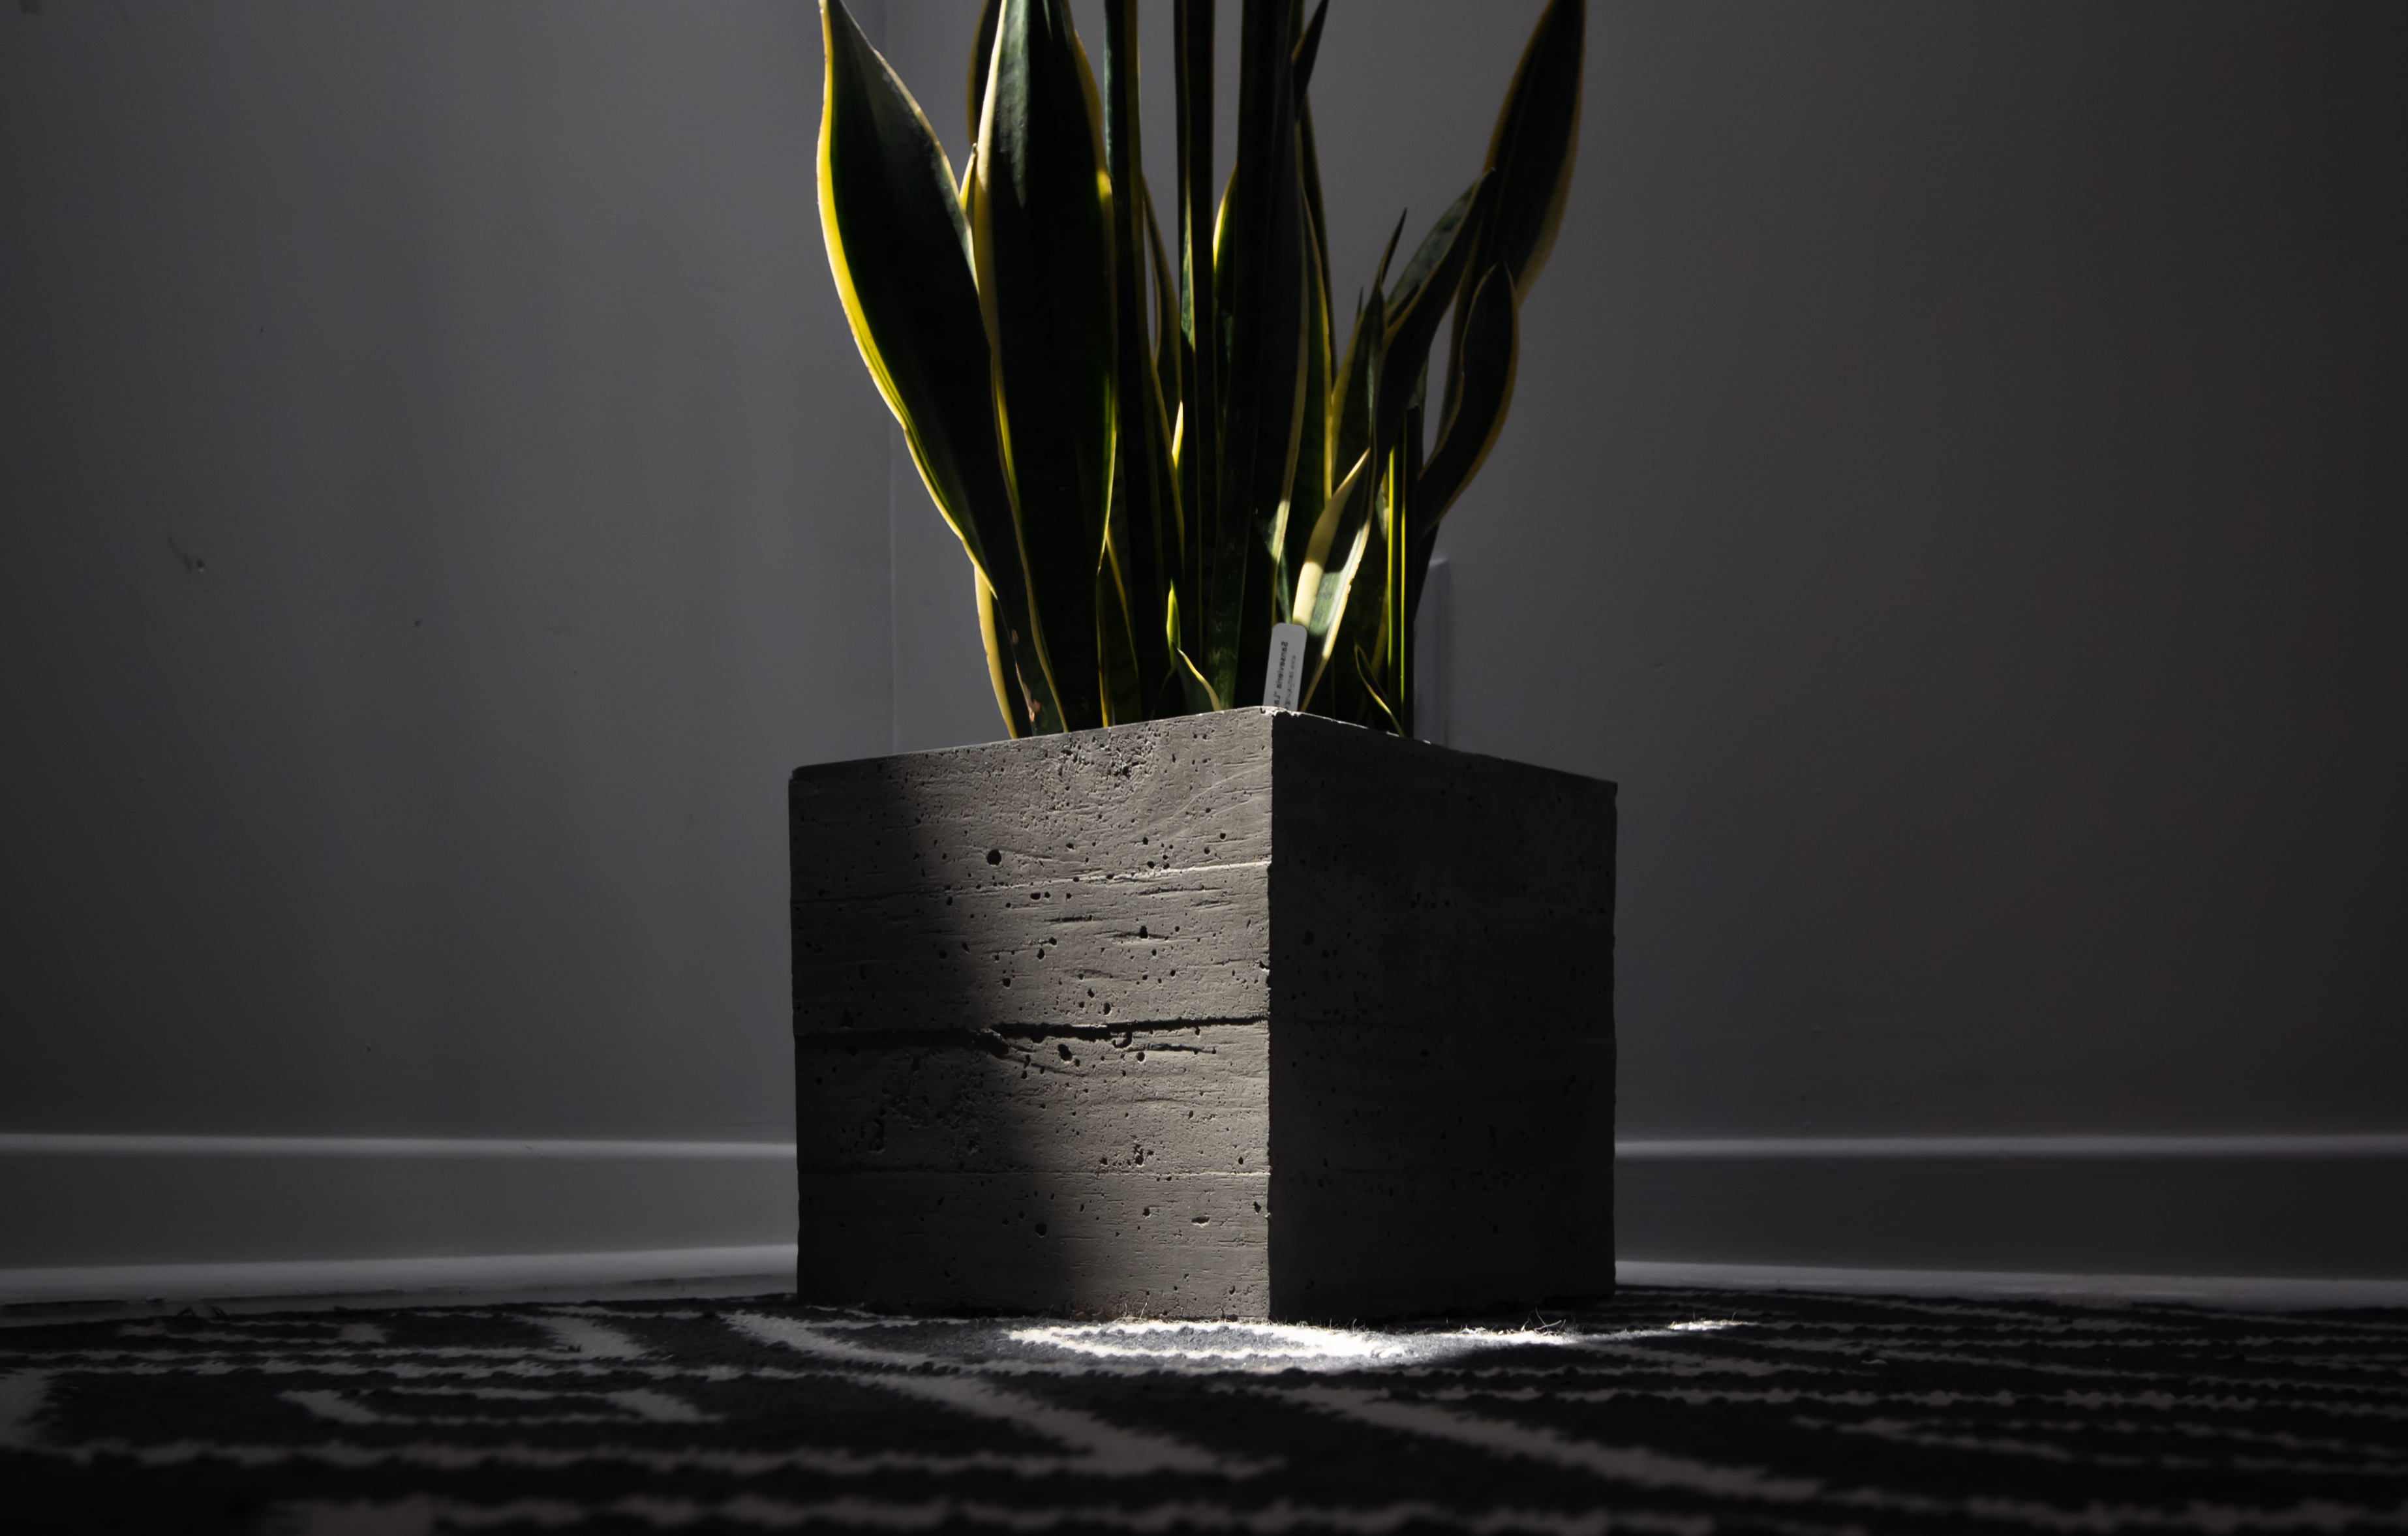
I have always loved the modern and unique look of board form concrete. It is a new architectural technique that incorporates the textures of wood grain and concrete, which , to me, is the perfect aesthetic combination. In this video, I try to replicate this look while creating a concrete planter box.
All Materials Used
- 2 unfinished spruce pine fir wood boards: 1 inch x 3 inch x 8 feet (actual measurements: 0.75 inch x 2.5 inch x 8 feet)
- Scrap pieces of wood strips (any type)
- Melamine wood
- Quickcrete 5000 concrete (1 bag)
- Wood clamps (small and large)
- A box of screws: 1 inch and 1 5/8 inch (I used drywall screws since they are easy to work with)
- Electric drill
- Drill bits
- Circular saw and/or jigsaw (jigsaw blades)
- Orbital sander or sheets of sandpaper
- Tape measure
- Speed square
- Wallboard square
- pencil and/or marker
- Concrete mixing tub
- Hoe tool (for mixing concrete)
- Hand shovel (for mixing concrete)
- Rubber mallet
- Paste wax
- Packing tape
- Plastic sheets


Final Planter Box Measurements
- 11.5 inches wide x 10 inches tall. The walls of the box are 1.5 inches thick.
Measurements of Individual Pieces (Cut List)
- Slats of pine wood for the outside walls of the mold: 8 pieces– 11.5 inches x 2.5 inches x 0.75 inches, 8 pieces– 13 inches x 2.5 inches x 0.75 inches
- Scrap strips of wood to hold the slats together: 4 pieces– approximately 9 inches x 1.5 inches x 0.5 inches
- One strip of wood to hold the inner melamine box down: 1 piece– approximately 13 inches x 1.5 inches x 0.5 inches
- Melamine wood base: 1 piece– 11.5 inches x 11.5 inches x 0.5 inches
- Inside melamine box: 2 pieces– 8.5 inches x 9 inches x 0.75 inches, 2 pieces– 7 inches x 9 inches x 0.75 inches, 1 piece– 7 inches x 7 inches x 0.75 inches
Tips and Recommendations
- Make sure to choose pine boards that have good grain patterns and knots that are desirable. After cutting these boards, lay them out to get an idea of where you want the knotted boards to be in the mold. This will ensure a visually appealing finished product.
- When mixing the Quickcrete 5000 concrete, make sure to add water and keep mixing until you achieve the consistency of wet oatmeal.
- Always keep the concrete covered with plastic while it cures so that the moisture doesn’t escape too quickly.
- Allow at least 2 full days for the concrete to cure. For best results, at least 4 full days.
- Be sure to carefully take apart the mold. This way, you can reuse some of the pieces to make multiple planter boxes. You can probably get 2-3 uses out of the wooden side panels.
- For even better results, you can use silicone caulk to seal all corners and open areas of the outer mold. This will reduce the amount of water that escapes during curing.
- Try to add a lot of screws when assembling the outer mold. The stronger and sturdier, the better. This is especially the case when attaching the bottom melamine base to the wood side panels. A lot of vibrating and banging can loosen and compromise this part of the mold.
- For the inner melamine box, be sure to tape over exposed wood areas. Otherwise, concrete will stick to them. However, try to limit the amount of tape. Also, it is best to use a lightweight and glossy tape. Clear packing tape is best.
- Vibrate… Vibrate… Vibrate! After adding concrete to the mold, it is very important to vibrate in order to fill voids and limit the amount of air bubbles.
- If using for outdoors, you can also add a drainage hole in the base of the plater box. You can use a round wood dowel for this. I decided not to add a hole for drainage since mine would remain indoors. I keep my plants in their original plastic buckets so that I can remove them to water outdoors without having to move the concrete planter box.
- The outside of the concrete can also be sealed if desired. I did not do this since mine would not be outdoors. I also did not want the color of the concrete to darken. I like the look of the light grey matte finish of natural concrete.
- If you will be placing the concrete box on tile or wood flooring, you can add some stick on felt pieces (such as these) to the bottom. This will prevent scratching the floor surface.
If you liked this post, feel free to share it!


